Let’s be honest, there’s a world of difference between canned beans and the creamy, flavorful goodness of beans cooked from scratch. But the thought of soaking, simmering, and babysitting a pot on the stove for hours is enough to make anyone reach for a can opener. What if I told you that the secret to perfect, effortless beans is already sitting on your countertop? That’s right, we’re talking about your trusty electric cooker. Learning How To Use Electric Cooker For Beans is a game-changer that will transform your meals, save you money, and make you feel like a kitchen superstar.
Forget the stovetop mess and the constant watching. The electric cooker provides a consistent, gentle heat environment that’s practically tailor-made for cooking legumes to tender perfection. It’s a “set it and forget it” method that delivers incredible results every single time. Whether you have a simple rice cooker or a fancy multi-cooker, this guide will walk you through everything you need to know to unlock its full bean-cooking potential.
Why Should You Use an Electric Cooker for Beans?
Using an electric cooker for beans isn’t just a quirky kitchen hack; it’s a genuinely superior method for several reasons. The enclosed, steady heat environment prevents the rapid boiling that can cause beans to break apart on the stovetop, while ensuring they cook evenly all the way through.
Here’s the breakdown of the benefits:
- Consistency is King: Electric cookers excel at maintaining a stable temperature. This gentle, consistent heat coaxes the beans to a perfect creamy texture without turning them to mush.
- Set It and Forget It: This is the biggest win. No more hovering over a pot. You can add your ingredients, press a button, and go about your day. Your cooker does all the hard work.
- Energy Efficiency: A standalone electric cooker is often more energy-efficient than using a large stovetop burner for an extended period, which is great for your utility bill.
- Flavor Infusion: The sealed environment of the cooker traps steam and aromas, allowing the beans to absorb all the delicious flavors of any aromatics you add, like garlic, onions, or herbs.
“The beauty of using an electric cooker for legumes lies in its thermal efficiency,” notes culinary technology expert, Dr. Benjamin Carter. “The controlled, low-and-slow heating cycle perfectly hydrates the starches within the bean, resulting in a superior creamy texture that’s difficult to replicate on a volatile stovetop.”
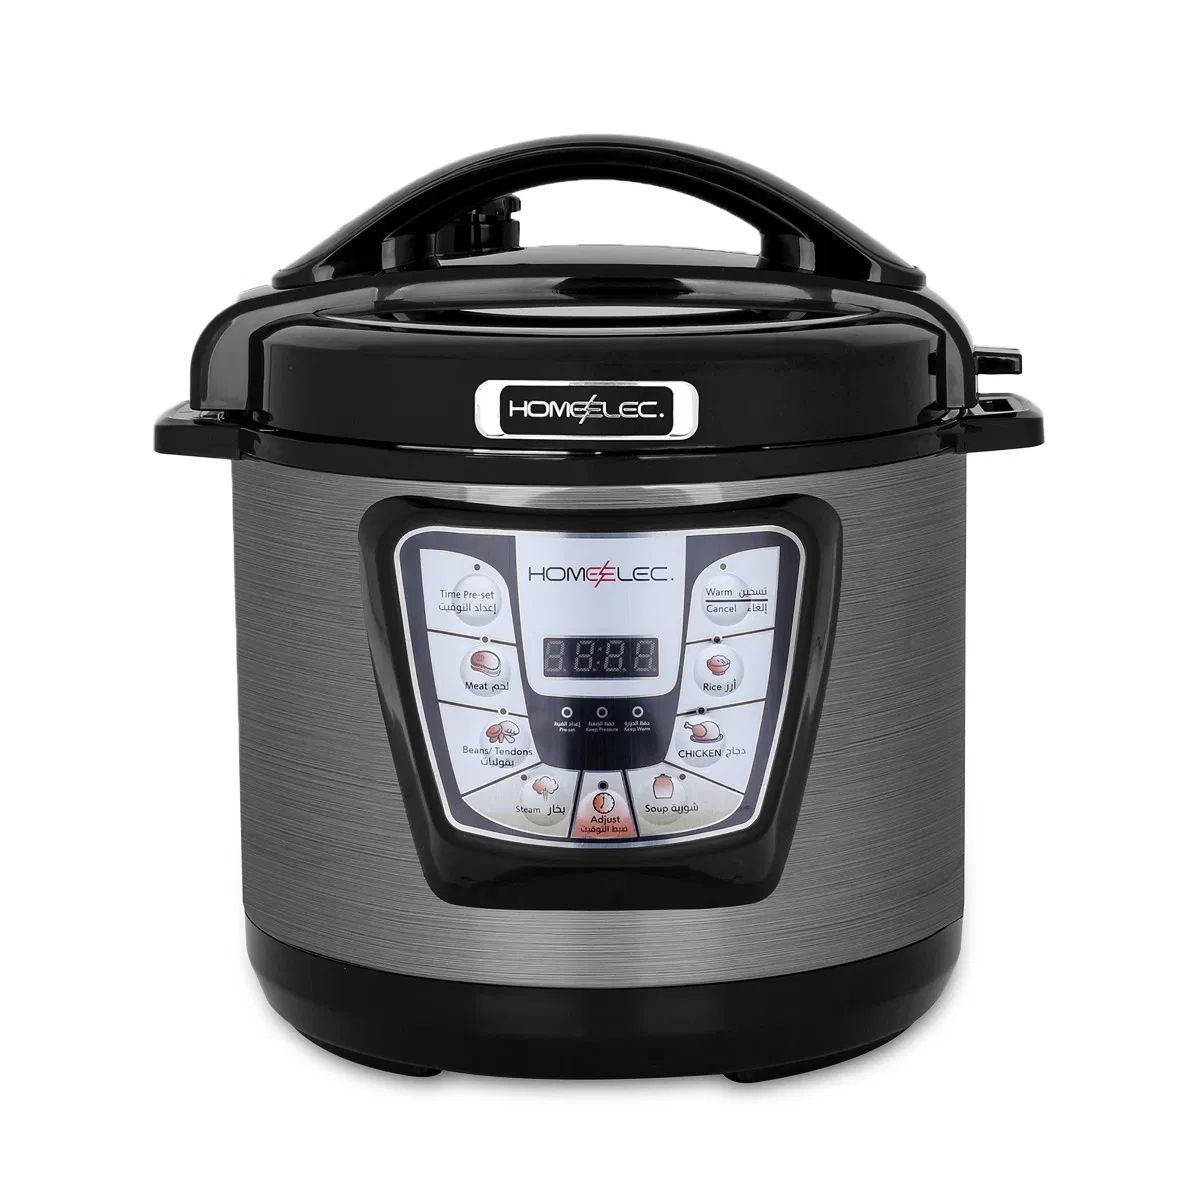
What Kind of Electric Cooker Works Best for Beans?
You might be wondering if your specific model is up to the task. The good news is that most electric cookers can handle beans, but some are better suited than others.
Basic Rice Cookers
These are the simple models with just a “Cook” and “Warm” function. You can absolutely cook beans in them! It works surprisingly well, especially for sturdy beans like black beans or pinto beans. The cooker will switch to “Warm” when most of the liquid is absorbed, which usually means your beans are done. You might just need to check them and add more water if they’re not quite tender.
Multi-Cookers and Advanced Rice Cookers
These are the all-stars. If your cooker has settings like “Porridge,” “Soup,” or “Slow Cook,” you’re in for a treat.
- Porridge/Congee Setting: This is often the perfect setting. It’s designed for a long, slow simmer, which is exactly what beans love.
- Slow Cook Setting: This function mimics a traditional slow cooker, allowing you to cook beans over several hours for a deeply flavorful result.
- Pressure Cooker Function: If your multi-cooker is also an electric pressure cooker, you can cook beans in a fraction of the time, even from dry without soaking.
The Ultimate Guide: How to Use Electric Cooker for Beans Step-by-Step
Ready to get cooking? This method is incredibly simple and works for most types of dried beans, from chickpeas and kidney beans to black beans and cannellini.
- Rinse Your Beans: Always start by giving your dried beans a good rinse. Place them in a colander and run them under cool water. This washes away any dust or debris. Take a moment to pick through them and discard any shriveled beans or tiny pebbles.
- To Soak or Not to Soak? (The Optional Step):
- Soaking: Soaking beans overnight in water helps them cook faster and more evenly. It can also make them easier to digest. If you choose to soak, cover the beans with a few inches of water and let them sit for 8 hours or overnight. Drain and rinse them before cooking.
- Not Soaking: In a hurry? No problem! You can cook beans from dry in an electric cooker. Just be prepared for a longer cooking time—potentially an extra hour or two, depending on the bean.
- Add Beans and Liquid to the Cooker: Place your rinsed (and soaked, if you did that step) beans into the inner pot of your electric cooker. Now for the crucial part: the liquid ratio. A great starting point is 1 part beans to 3 parts liquid. So, for every 1 cup of dried beans, add 3 cups of water or broth. Ensure the beans are fully submerged.
Pro-Tip: Using a flavorful liquid like vegetable or chicken broth instead of water will add an incredible layer of savory depth right from the start.
- Introduce the Aromatics: This is where you build flavor. Don’t cook your beans in plain water! Add some simple aromatics to the pot.
- A halved onion
- A few smashed cloves of garlic
- A bay leaf
- A sprig of fresh thyme or rosemary
Important: Do not add salt or acidic ingredients like tomatoes or lemon juice at this stage. They can prevent the bean skins from softening, resulting in tough, undercooked beans.
- Select Your Setting and Start Cooking:
- For Multi-Cookers: Choose the “Porridge” or “Slow Cook” setting. If using “Slow Cook,” you can set it on low for 6-8 hours or high for 3-4 hours.
- For Basic Rice Cookers: Simply press the “Cook” button. The cooker will do its thing. It will likely take a few cycles. Once it clicks to “Warm,” check the beans. If they’re not soft yet, add another cup of hot water and press “Cook” again. Repeat until tender.
|
Our Picks for the Best Electric Cooker in 2025
As an Amazon Associate, we earn from qualifying purchases.
|
||
| Num | Product | Action |
|---|---|---|
| 1 | Instant Pot Pro Crisp 11-in-1 Air Fryer and Electric Pressure Cooker Combo with Multicooker Lids that Air Fries, Steams, Slow Cooks, Sautés, Dehydrates, & More, Free App With Over 800 Recipes, 8 Quart |

|
| 2 | COMFEE\\\' Compact Rice Cooker, 6-in-1 Stainless Steel Multi Cooker, Slow Cooker, Steamer, Saute, and Warmer, 2 QT, 8 Cups Cooked(4 Cups Uncooked), Brown Rice, Quinoa and Oatmeal, 6 One-Touch Programs |
|
| 3 | Instant Pot Duo 7-in-1 Electric Pressure Cooker, Slow Cooker, Rice, Steamer, Sauté, Yogurt Maker, Warmer & Sterilizer, Includes App With Over 800 Recipes, Stainless Steel, 6 Quart |
|
| 4 | COMFEE’ 9-in-1 Electric Pressure Cooker, 14 Presets Instant Multi Slow Cooker Olla de Presion Non-Stick Pot Rice , Yogurt Maker, Sauté Steamer, Black , 6 Quarts |
|
| 5 | AROMA Digital Rice Cooker, 4-Cup (Uncooked) / 8-Cup (Cooked), Steamer, Grain Cooker, Multicooker, 2 Qt, Stainless Steel Exterior, ARC-914SBD |
|
| 6 | Toshiba Mini Rice Cooker, 3 Cups Uncooked Small Rice Cooker, Steamer & Warmer, With Fuzzy Logic And One-Touch Cooking, 24 Hour Delay Timer And Auto Keep Warm Feature, White |
|
| 7 | West Bend Rice & Grain Multi Cooker Programmable with 9 Preset Functions, Features Delay Start and Keep Warm Functions and Steam Basket, 20 Cups Cooked, Stainless Steel |
|
| 8 | Aroma Housewares Aroma 6-cup (cooked) 1.5 Qt. One Touch Rice Cooker, White (ARC-363NG), 6 cup cooked/ 3 cup uncook/ 1.5 Qt. |
|
| 9 | Toshiba Mini Rice Cooker, 3 Cups Uncooked Small Rice Cooker, Steamer & Warmer, With Fuzzy Logic And One-Touch Cooking, 24 Hour Delay Timer And Auto Keep Warm Feature, White |
|
| 10 | Instant Pot Pro (8 QT) 10-in-1 Pressure Cooker, Slow Cooker, Rice/Grain Cooker, Steamer, Sauté, Sous Vide, Yogurt Maker, Sterilizer, and Warmer, Includes App With Over 800 Recipes, Black |
|
- Check for Doneness: Start checking your beans after about 90 minutes for soaked beans, or 2-3 hours for unsoaked beans (this can vary widely!). They’re done when they are tender all the way through and creamy on the inside. If you can easily mash one against the side of the pot with a spoon, they’re ready.
- Season and Serve: Once the beans are perfectly cooked, it’s time to season them. Remove the aromatics (like the bay leaf and onion halves). Stir in salt to your taste, a crack of black pepper, and maybe a drizzle of olive oil. Let them sit in the hot liquid for about 10-15 minutes to absorb the salt fully.
Pro Tips for Perfect Electric Cooker Beans
- Don’t Overfill: Never fill your electric cooker more than halfway with beans and water. Beans expand as they cook, and you need to leave room to avoid a messy overflow.
- Hard Water Woes: If your tap water is very hard, it can sometimes interfere with the softening process. Using filtered or bottled water can make a noticeable difference.
- What If My Beans Are Still Hard? Don’t panic! This is a common issue. It usually just means they need more time and/or more liquid. Add a cup of hot water and set the cooker for another cycle. Old beans (those that have been in your pantry for over a year) can also be stubborn and may require much longer cooking times.
- Batch Cooking is Your Friend: Use your electric cooker to make a big batch of beans at the beginning of the week. Store them in their cooking liquid in the fridge for up to 5 days. You can then easily add them to salads, tacos, soups, and more. This is a core concept for anyone wanting to master how to use electric cooker for beans efficiently.
Frequently Asked Questions (FAQ)
Q1: Can I cook canned beans in an electric cooker?
A: You can, but it’s generally not necessary. Canned beans are already cooked. You can simply use your electric cooker’s “Sauté” function (if it has one) or “Warm” function to heat them up with other ingredients for a chili or soup.
Q2: What is the best setting on a rice cooker for beans?
A: If you have a multi-function cooker, the “Porridge” or “Slow Cook” setting is ideal. For a basic rice cooker, the standard “Cook” setting works well; you may just need to run it through more than one cycle, adding more water as needed.
Q3: How long does it take to cook unsoaked beans in an electric cooker?
A: Cooking times vary depending on the type and age of the bean, but generally, expect unsoaked beans to take between 2.5 to 4 hours on a standard “Cook” or “Porridge” setting in an electric cooker.
Q4: Why shouldn’t I add salt to my beans while they are cooking?
A: Adding salt early in the cooking process can toughen the skins of the beans, making them take much longer to become tender. It’s always best to salt your beans after they are fully cooked to creamy perfection.
Q5: Can I cook lentils in my electric cooker?
A: Absolutely! Lentils cook much faster than beans and don’t require soaking. Use a ratio of about 1 part lentils to 2.5 parts liquid and use the “Cook” or “Porridge” setting. They’ll typically be done in about 30-40 minutes.
Your Kitchen’s Unsung Hero
Mastering how to use Electric Cooker for beans opens up a whole new world of simple, healthy, and affordable meals. Your cooker is so much more than a rice-making machine; it’s a versatile tool ready to tackle everything from hearty black beans for taco night to creamy cannellini beans for a rustic Italian soup. By embracing this simple technique, you’re not just cooking smarter; you’re investing in more delicious and wholesome meals for you and your family.
So go ahead, dust off that bag of dried beans in your pantry and give it a try. We’d love to hear about your experience! Share your favorite bean recipes or any tips you’ve discovered in the comments below.