There’s something universally comforting about a warm bowl of porridge. It’s the kind of breakfast that feels like a hug from the inside out. But let’s be honest, standing over a stove, stirring constantly to prevent a lumpy, burnt mess is not exactly a Zen way to start the day. This is where your trusty kitchen sidekick comes in. Using a fantastic Porridge Recipe Electric Cooker method is, without a doubt, a complete game-changer. It transforms a potentially fussy task into a set-it-and-forget-it dream, delivering perfectly creamy results every single time.
The magic of an electric cooker lies in its ability to provide gentle, consistent heat in a sealed environment. This means no scorching, no boiling over, and no need for babysitting. Whether you’re a busy parent trying to get breakfast on the table or simply someone who values a stress-free morning, this method will become your go-to. The versatility of these appliances is truly remarkable; much like a great soup recipe with electric cooker, the principles of slow, even cooking unlock incredible flavour and texture.
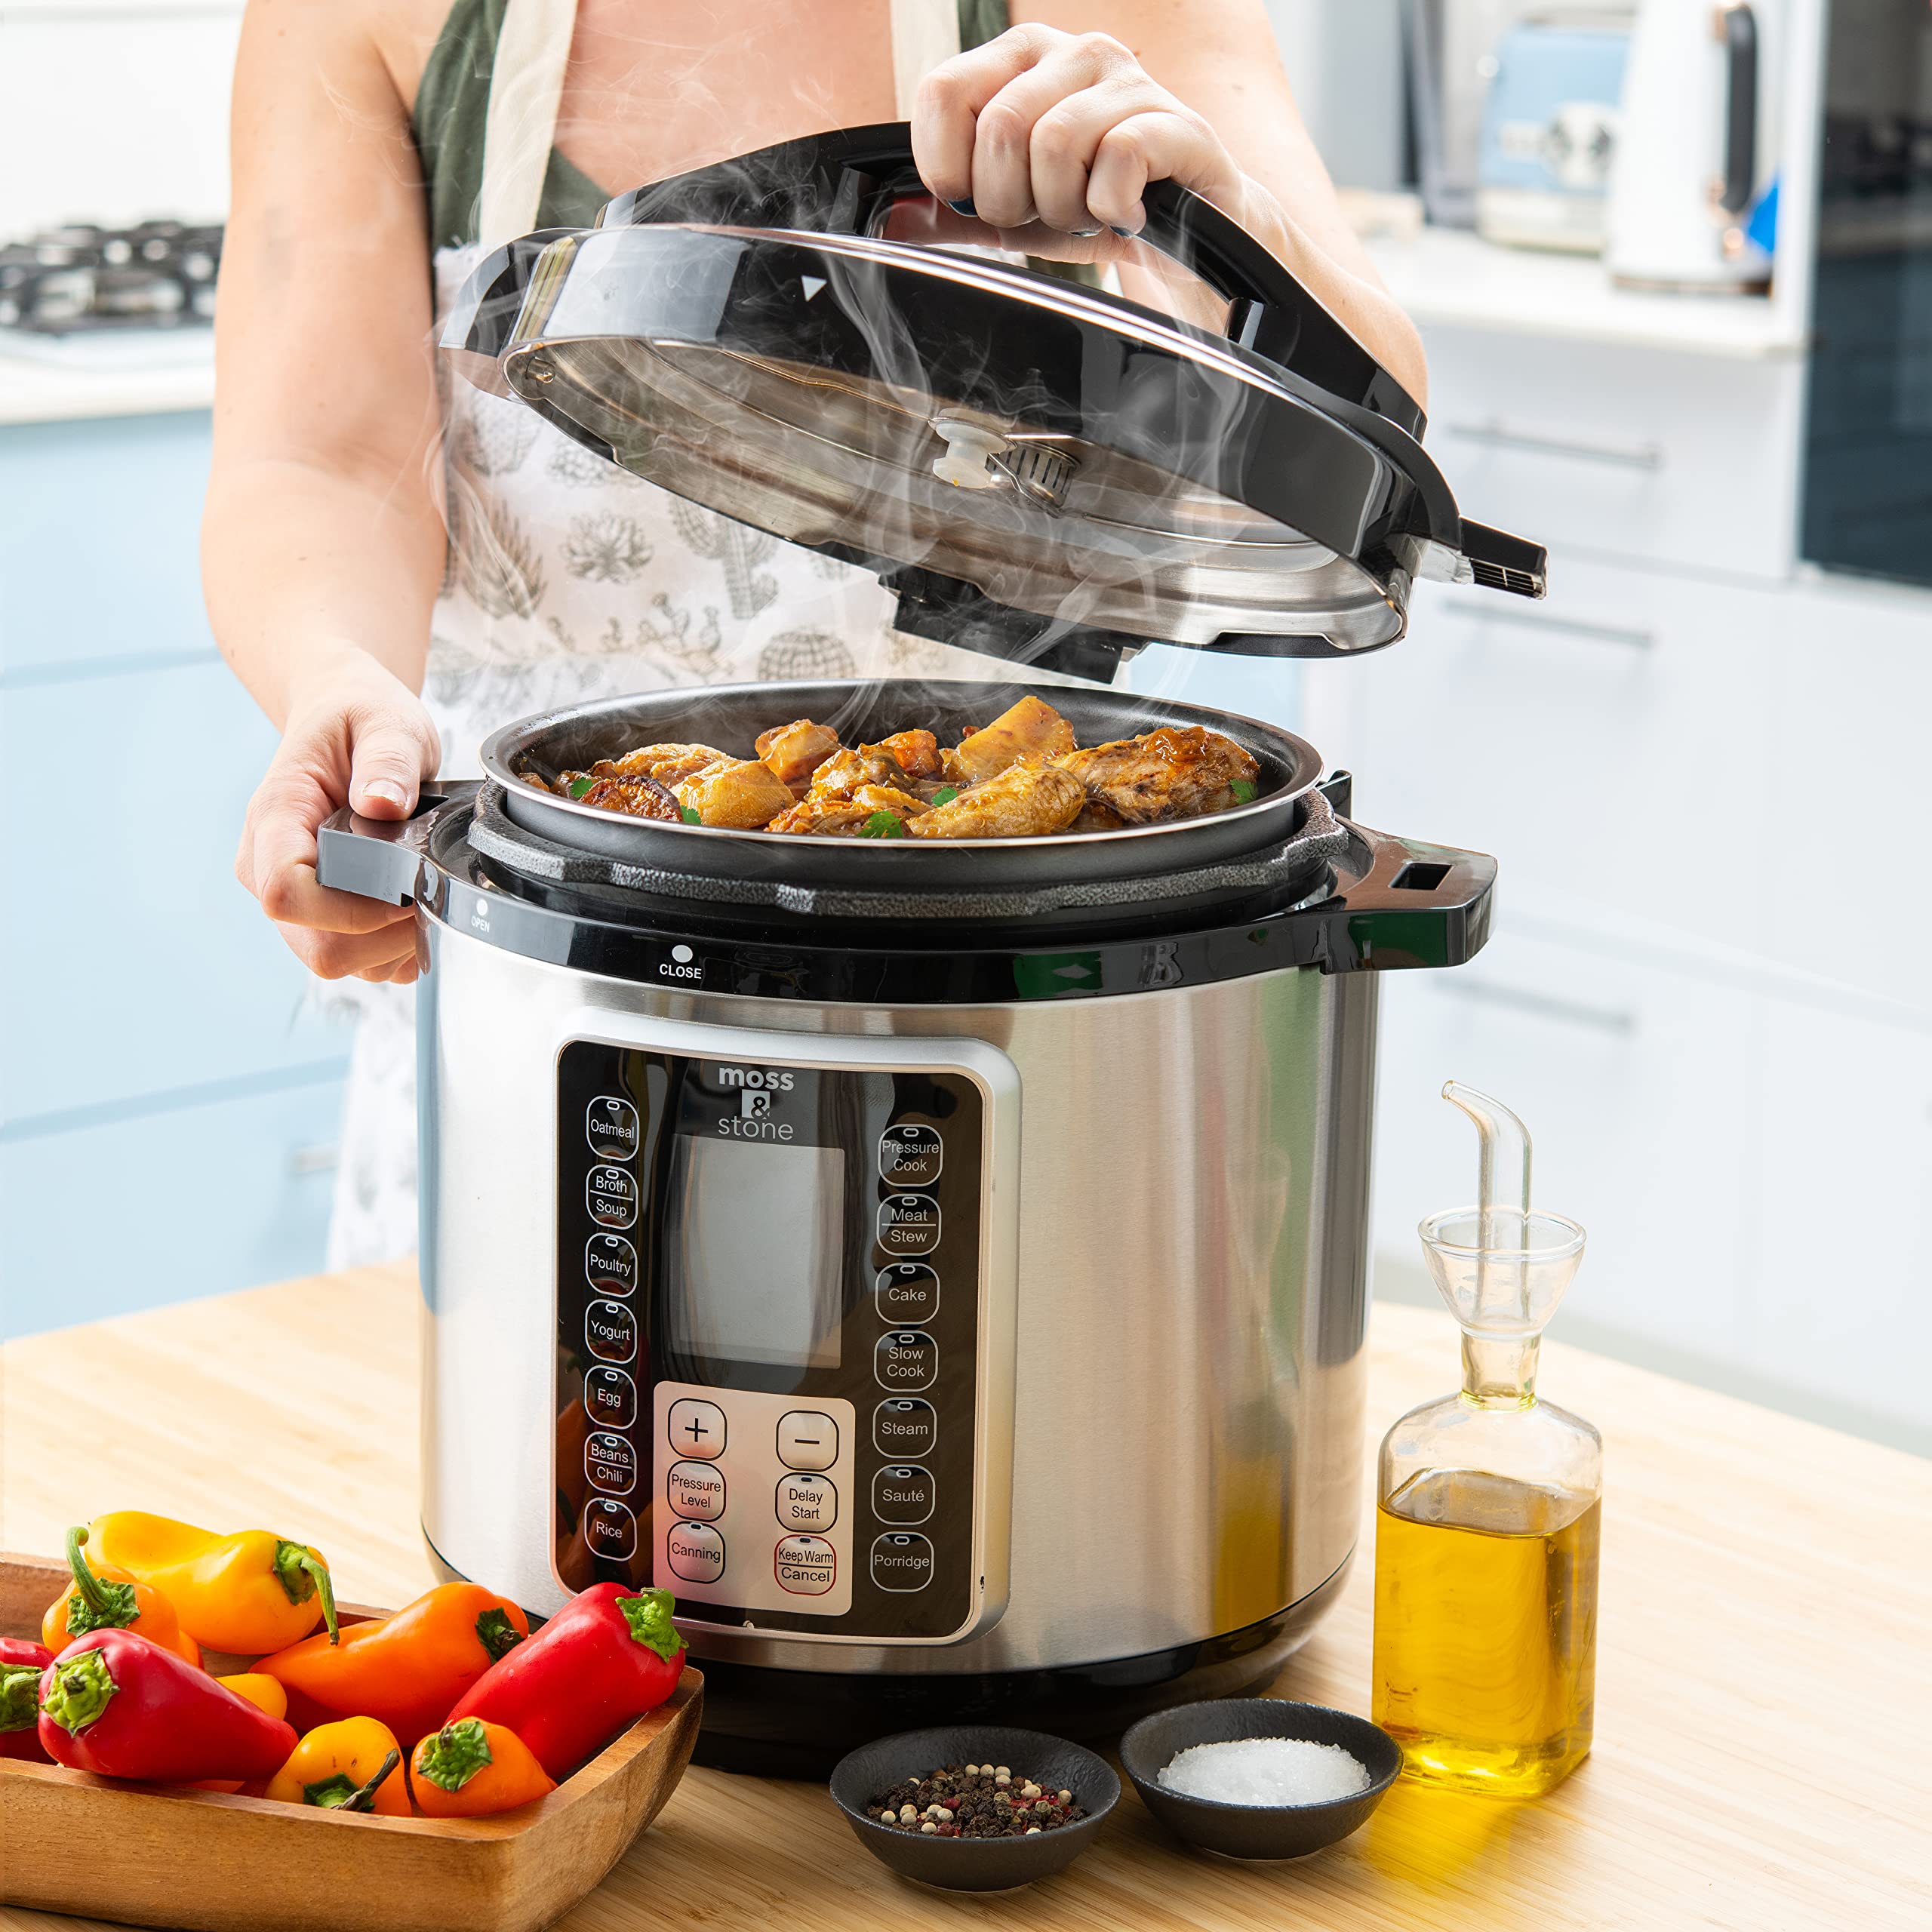
Why is an Electric Cooker So Good for Making Porridge?
You might think of your electric cooker as just a rice-making machine, but it’s so much more. It’s a master of slow-cooking, steaming, and, yes, creating the creamiest porridge you’ve ever tasted. The secret is the combination of a sealed lid and automated temperature control.
This setup creates a low-pressure, high-moisture environment where the oats can slowly break down and release their starches without losing any precious moisture to evaporation. The result? A luxuriously smooth texture that’s almost impossible to achieve on the stovetop without constant attention.
- Consistency is Key: The cooker maintains a perfect, steady temperature, ensuring every oat grain is cooked evenly.
- Hands-Free Cooking: Once you’ve added your ingredients and pressed the button, you’re free to get on with your morning. No stirring required!
- Energy Efficient: These devices use significantly less electricity than a conventional stovetop, making them a greener and more cost-effective choice.
- Keep Warm Function: Most modern electric cookers have a “Keep Warm” setting, meaning your perfect porridge is ready and waiting whenever you are.
Choosing Your Champion: Which Oats Work Best?
Before we dive into the recipe, let’s talk about the star of the show: the oats. The type you choose will have a big impact on the final texture and cooking time.
Steel-Cut Oats (The Hearty Contender)
These are whole oat groats that have been chopped into a few pieces. They have a firm, chewy texture and a wonderful nutty flavor. Because they are less processed, they take the longest to cook, but the electric cooker’s gentle heat is perfect for softening them up beautifully.
Rolled Oats (The All-Rounder)
Also known as old-fashioned oats, these are oat groats that have been steamed and rolled flat. This is the classic porridge oat. They cook faster than steel-cut oats and produce a creamy, yet still slightly textured porridge. They are my personal favorite for a daily breakfast.
Quick or Instant Oats (The Sprinter)
These are the most processed, rolled even thinner and sometimes pre-cooked. While they cook in a flash, I generally advise against using them in an electric cooker. They can turn to mush very quickly and lack the texture and robust flavor of their less-processed cousins.
As culinary appliance expert Dr. Aris Thorne notes, “The magic of using an electric cooker for grains like oats is its ability to replicate traditional slow-cooking methods with modern precision. For steel-cut oats, in particular, it breaks down the tough bran while perfectly preserving the grain’s integrity, something a stovetop struggles to do without scorching.”
The Ultimate Foolproof Porridge Recipe Electric Cooker
Ready to make the best porridge of your life? This base recipe is incredibly simple and serves as a perfect canvas for your favorite toppings. This is a forgiving recipe, so feel free to experiment once you get the hang of it.
What You’ll Need (Serves 2)
- 1 cup of rolled oats or steel-cut oats
- 3 cups of liquid (water, milk, or a 50/50 mix)
- A pinch of salt (this is non-negotiable, it brings out the flavour!)
Step-by-Step Instructions
- Measure and Rinse (Optional): Measure your oats using the cup that came with your electric cooker, or a standard measuring cup. For a slightly less starchy result, you can give the oats a quick rinse in a fine-mesh sieve, but I personally skip this step as I love the extra creaminess.
- Combine Ingredients: Place the oats, your liquid of choice, and the pinch of salt directly into the inner pot of your electric cooker.
- Give it a Stir: Use a silicone or wooden spoon to give everything a quick stir to ensure the oats are fully submerged and the salt is distributed.
- Select the Setting: Close the lid. If your electric cooker has a dedicated “Porridge” or “Oatmeal” setting, select that. If not, the “White Rice” or “Slow Cook” setting works brilliantly. The “Slow Cook” setting is particularly good for steel-cut oats.
- Let the Magic Happen: Press start and walk away! The cooker will do all the work. Cooking time will vary depending on your model and the type of oats:
- Rolled Oats: Typically take around 20-30 minutes on a “Porridge” or “Rice” setting.
- Steel-Cut Oats: Can take 45-60 minutes on a “Porridge” setting, or 1.5-2 hours on “Slow Cook.”
- Rest and Serve: Once the cycle is complete, let the porridge rest for a few minutes with the lid on. This allows it to thicken up perfectly. Give it a final stir and serve warm with your favorite toppings.
This method is so simple and reliable, it opens up a world of possibilities for easy meals. The gentle, enclosed cooking environment is also ideal for tenderizing tougher ingredients, which is something you’ll see in a good beans recipe electric cooker.
What Is the Perfect Porridge-to-Liquid Ratio?
The perfect porridge-to-liquid ratio for an electric cooker is generally 1 part oats to 3 parts liquid. For example, use one cup of oats and three cups of water or milk. This ratio provides a creamy, perfectly cooked consistency without being too thick or too watery.
If you prefer a thicker, denser porridge, you can reduce the liquid to a 1:2.5 ratio. For a thinner, more soup-like consistency, especially for Asian-style congee, you can increase it to 1:4 or even higher. It’s best to start with 1:3 and adjust on your next attempt to find what you love.
Beyond the Basics: Creative Porridge Toppings and Variations
Your perfectly cooked porridge is a blank slate. Here’s where you can get really creative! This is also a fantastic way to introduce new flavors, making it one of the most versatile kid friendly electric cooker recipes in your arsenal.
Sweet Toppings:
- Fresh berries, sliced banana, or stewed apples
- A drizzle of maple syrup, honey, or agave nectar
- A sprinkle of cinnamon, nutmeg, or cardamom
- A spoonful of nut butter (almond, peanut, cashew)
- A handful of chopped nuts, seeds, or granola for crunch
Savory Twists:
Don’t forget that porridge can be savory! This is common in many cultures around the world.
- Top with a fried or poached egg and a dash of soy sauce.
- Stir in some shredded cheese and chopped chives.
- Add sautéed mushrooms, spinach, and a little garlic.
The idea of a one-pot savory meal is a core strength of this appliance. For those who enjoy savory grain-based dishes, you might also be interested in exploring a flavorful chicken recipe electric cooker to see just how versatile your machine can be.
Frequently Asked Questions (FAQ)
Q1: Can I make porridge with steel-cut oats in an electric cooker?
A: Absolutely! An electric cooker is one of the best ways to cook steel-cut oats. Use a 1:3 or 1:4 (oats to liquid) ratio and select the “Porridge” or “Slow Cook” setting. They will come out perfectly tender and creamy without any risk of burning.
Q2: Can I use milk instead of water for my porridge?
A: Yes, you can use all milk or a combination of milk and water. However, be aware that milk can sometimes bubble up more than water. To prevent this, ensure you don’t fill the cooker pot more than halfway and consider adding a tiny dab of butter or oil to reduce foaming.
Q3: My porridge is too thick/watery, how do I fix it?
A: If it’s too thick, simply stir in a splash of milk or water until it reaches your desired consistency. If it’s too watery, you can turn the cooker to a “Sauté” or “Keep Warm” setting with the lid off for a few minutes, stirring occasionally to let some liquid evaporate.
Q4: Is it safe to leave the electric cooker on overnight for porridge?
A: Many modern electric cookers have a timer function and are designed for safe, unattended cooking. You can set them up the night before to have hot porridge ready when you wake up. Always check your specific model’s manual and safety features before doing so.
Q5: What’s the difference between the ‘Porridge’ and ‘Slow Cook’ settings?
A: The “Porridge” setting is typically a faster, higher-temperature cycle designed specifically for grains like rice or oats. The “Slow Cook” setting uses a much lower, sustained temperature over a longer period, which is ideal for tougher cuts of meat or for achieving an exceptionally soft texture with steel-cut oats.
The Final Word
Embracing the porridge recipe Electric Cooker method is more than just a kitchen hack; it’s a step towards simpler, healthier, and more enjoyable mornings. It takes the guesswork out of breakfast and guarantees a delicious, nourishing start to your day. So dust off that cooker, grab your favorite oats, and get ready to rediscover just how amazing a simple bowl of porridge can be.
We’d love to hear about your creations! Share your favorite porridge toppings or any unique variations you’ve tried in the comments below.